1. Opening Expression Tester
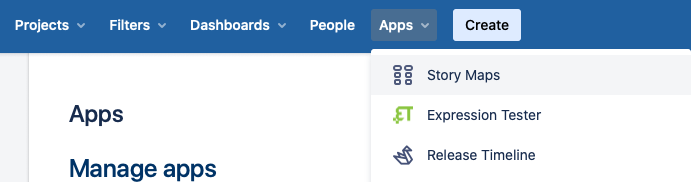
The Expression Tester is available in the App menu of your Jira instance
Click on “Apps” and then on “Expression Tester”
2. Interface Elements
When you open the open the Expression Tester app, it will look similar to this:
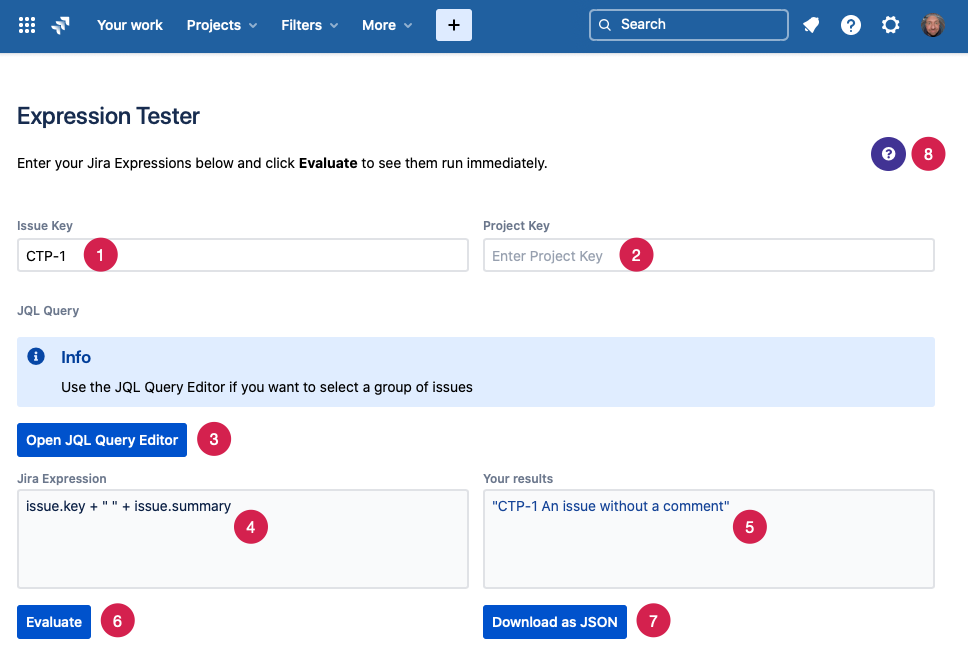
Issue Key
Enter an issue key to add that issue to the Expression’s execution context. The issue will be available asissue.Project Key
Enter a project key to add that project to the Expression’s execution context. The project will be available asproject.JQL Query Editor
To execute an Expression on a number of issues, open the JQL query editor and use JQL to select multiple issues. The results of the JQL query will be available as a list of issues namedissues.Jira Expression
Enter your Jira Expression here. White spaces and newlines are ignored by Jira Expressions, so it makes sense to use both widely to make longer Expressions more readable.Your Results
This text box will show the results of your Jira Expression.Evaluate
Click the Evaluate button to execute your Jira ExpressionDownload as JSON
Click this button to download your results as JSON?
Click the question mark to open the inline help and settings.
3. Settings
Currently, there is only one setting to change: “Send anonymous analytics data“. When enabled, the app anonymously stores usage data, i.e. the Expression being evaluated. This helps us understand how users are using the Expression Tester app.
The app does not store the results of an expression nor do we have any way to connect the usage data to a specific instance or user.